Are you tired of flipping through dusty photo albums or trying to view faded, yellowing images on your old slides? If so, it might be time to consider digitizing your family photos.
When you convert slides to digital you can preserve your memories for future generations and enjoy improved convenience and accessibility. You can preserve your memories for future generations and enjoy improved convenience and accessibility. Plus, digitizing your photos with the right tools and techniques is easier than you might think.
In this blog, we’ll discuss the basic steps to digitizing your family photos and provide tips on how to do it. Whether you have a small collection of photos or a large one, digitizing your photos is a simple and effective way to preserve your memories for years to come.
Table of Contents
Sort Your Old Family Photos
The first step in digitizing your family photos is to sort through your collection. This will help you to identify which photos you want to digitize and group them by theme or event. You should also take this opportunity to clean and repair damaged photos, as this will help ensure that they are in the best condition possible when you scan them.
Prepare the Needed Equipment for Digitizing
Next, you’ll need to prepare the needed equipment for digitizing your photos. You’ll need a computer or other device to store your digital photos and a scanner or other device to capture them.
You’ll also need any necessary software or cables to connect your scanner to your computer. If you purchase an entire
Pick Where You Want to Store Your Digitized Family Photos
Once you have your equipment set up, you’ll need to decide where you want to store your digitized photos. You can store them on your computer or an external hard drive or upload them to a cloud storage service like Google Drive or Dropbox.
Set the Resolutions
Before you start scanning your photos, you’ll need to set the resolutions. Higher resolutions will produce better-quality images but also take up more storage space. Be sure to choose a resolution that is appropriate for your needs and that is supported by your equipment.
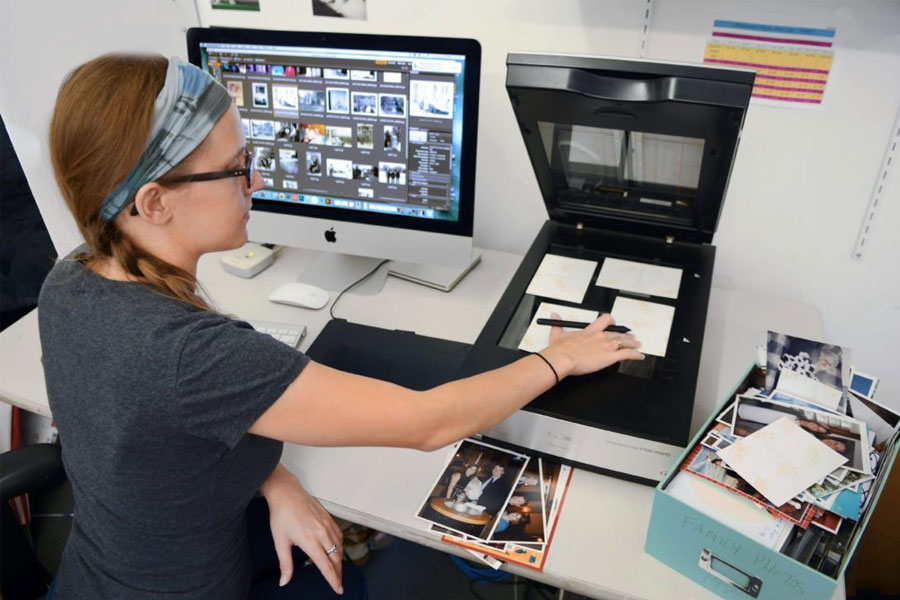
Start Scanning
Now, it’s time to start scanning your photos. Begin by placing the first photo on the scanner bed, ensuring that it is centered and straight. Then, follow the instructions provided by your scanner or software to capture the image. Repeat this process for each photo in your collection.
Congratulations, you have now successfully scanned your old photos to digital.
Share the Digitized Photos with Your Loved Ones
Once you’ve digitized your family photos, you’ll want to share them with your loved ones. You can do this by uploading your photos to a social media platform or by creating a digital photo album. You can also create physical copies of your photos by printing them or creating a photo book.
This is the most rewarding part of the process, as you can share memories from countless generations for the foreseeable future.
Conclusion
Digitizing your family photos is a great way to preserve your memories and to share them with your loved ones. By following these basic steps and using the right equipment, you can easily digitize your photos and keep them safe for future generations. So if you have a collection of old family photos, don’t wait any longer – start the digitization process today!